How I Vibecoded My Entire Portfolio in 24 Hours 🤖
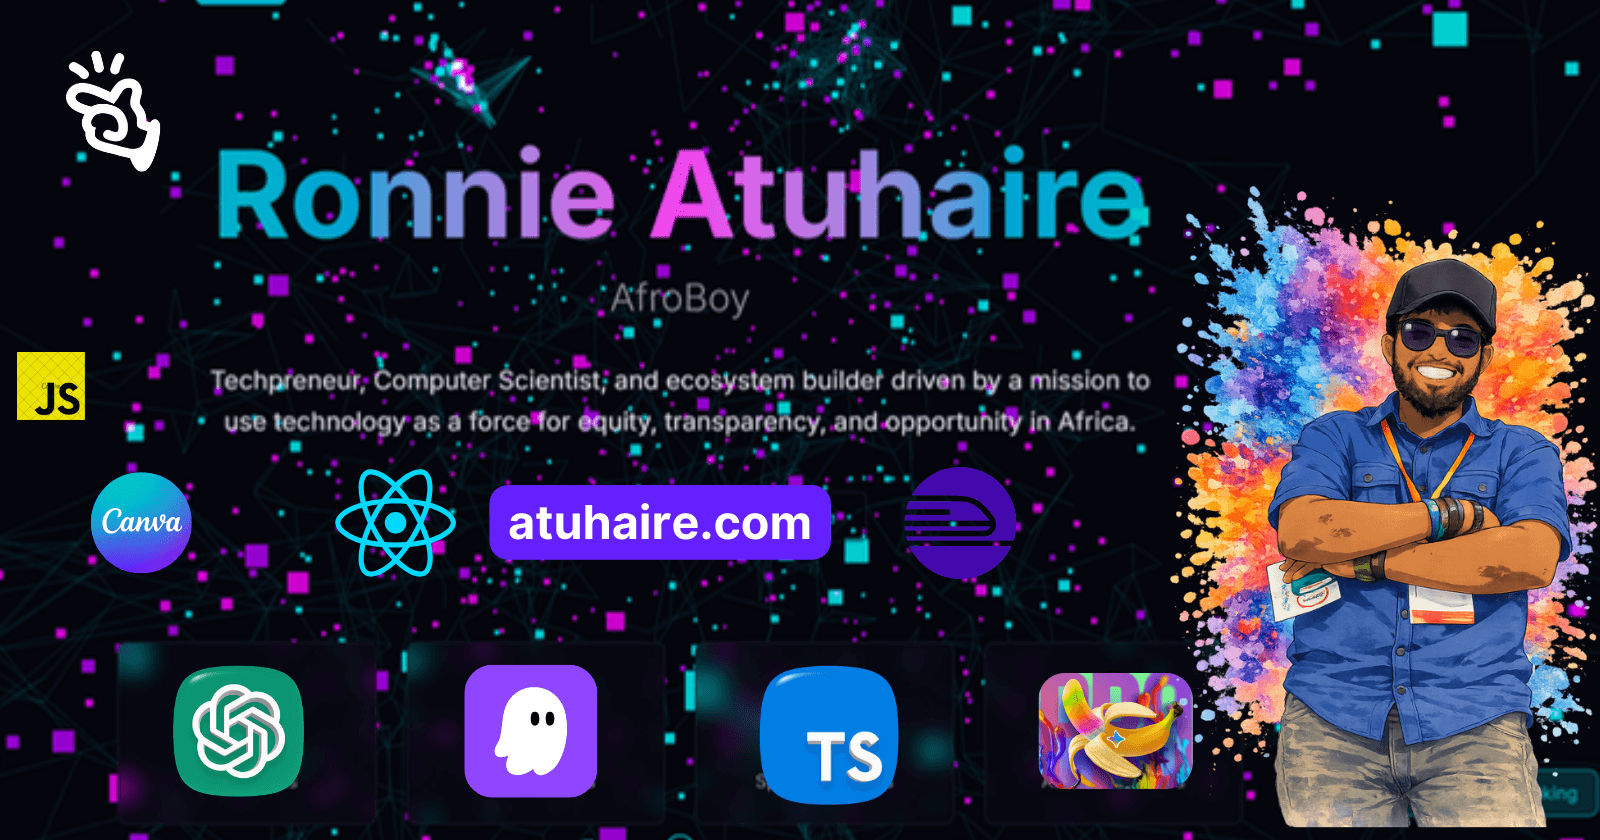
My name is Ronnie & a fellow geek like you😎. I am passionately tech curious.
I blog, tweet, write, code, vlog, discuss and eat anything about tech.
😍 Feel Free To Connect 😍
The Era of Prompt-Driven Development
Let me start with a bold statement: I no longer need to code if I'm good at prompting & problem solving...
This isn't hyperbole, it's the reality of 2026. Over the past 6 days, I completely rebuilt my portfolio website using nothing but strategic prompting, AI assistance, and what I call "vibecoding", the art of translating your vision into reality through conversational programming.
Gone are the days of wrestling with syntax errors, debugging for hours, or memorizing framework documentation. Today, I'm going to walk you through exactly how I built a production-ready, feature-rich portfolio that would have taken weeks of traditional coding in just 6 days (24 Hrs Total) of intelligent prompting.
One thing you should take away from vibe coding, a real practical solution, is that it can be cumbersome and requires you to persist, and you may need multiple tools, a few days (I did about 3-4 hrs on a daily hence the 6 days)
TLDR; Here is my portfolio → atuhaire.com
What is Vibecoding? 🤖
Vibecoding is my term for the new paradigm of software development, where you focus on:
Vision articulation instead of syntax memorization
Problem decomposition instead of implementation details
Strategic prompting instead of manual coding
AI collaboration instead of solo debugging
It's about riding the vibe of what you want to build and letting AI handle the technical heavy lifting while you focus on the creative and strategic aspects.

The 6-Day (4hrs Daily) Journey: From Concept to Production
Day 1-2: Foundation with Manus
I started my journey with Manus, an AI-powered development platform that gave me the initial skeleton and approximately 70% of my codebase. This wasn't just boilerplate, it was a fully functional foundation with:
Complete React + TypeScript setup
Express.js backend with tRPC integration
Authentication system (which I later simplified)
Database schema with Drizzle ORM
Modern UI components with Radix UI
Key Learning: Don't start from scratch when AI can give you a production-ready foundation. Manus saved me 2-3 days of initial setup.
Day 3-4: Enhancement with Kiro
I then moved the project to Kiro, where the real magic happened. Kiro became my coding partner, helping me:
Refactor the authentication system for simplicity
Build a comprehensive admin panel with analytics
Create dynamic gallery management
Implement RSS blog integration
Add advanced animations and interactions
The Prompting Strategy: Instead of asking "how do I build X?", I learned to ask "I want to achieve Y user experience, what's the best approach?" This shift in questioning led to better architectural decisions.
Day 5: Visual Assets and Design
This day was dedicated to creating and optimizing visual content:
Canva: Used for resizing and optimizing images across different sections Nano Banana: Upscaled my hero image for the About page to ensure crisp quality GPT 5.2: Created custom background designs and helped with the cyberpunk logo concept
Pro Tip: AI tools for visual content are game-changers. What used to require Photoshop skills now takes simple prompts.
Day 6: Deployment and Domain Setup
The final day focused on going live:
Deployed to Railway for cloud hosting
Configured custom domain through Namecheap
Set up environment variables and SSL
Final testing and optimization
The Technical Stack: Modern Web Development in 2026
Frontend Technologies
{
  "framework": "React 19.2.1",
  "language": "TypeScript 5.9.3",
  "styling": "Tailwind CSS 4.1.14",
  "animations": "Framer Motion 12.23.22",
  "ui_components": "Radix UI",
  "routing": "Wouter 3.3.5",
  "state_management": "React Query + tRPC",
  "build_tool": "Vite 7.1.7"
}
Backend Technologies
{
  "runtime": "Node.js 18+",
  "framework": "Express.js 4.21.2",
  "api_layer": "tRPC 11.6.0",
  "database_orm": "Drizzle ORM 0.44.5",
  "file_handling": "Multer + AWS S3",
  "rss_parsing": "xml2js 0.6.2",
  "authentication": "Custom JWT with Jose 6.1.0"
}
Development & Deployment
{
  "bundler": "ESBuild 0.25.0",
  "package_manager": "npm",
  "hosting": "Railway",
  "domain": "Namecheap",
  "storage": "File-based (JSON)",
  "ssl": "Automatic via Railway"
}
Key Features Built Through Vibecoding
1. Dynamic Admin Dashboard
Real-time analytics with animated counters
Gallery management with drag-and-drop reordering
Contact form submissions tracking
System metrics monitoring
Passphrase authentication (
#######)
2. Interactive Gallery System
Category-based filtering (Tech, Travel, Events)
Lightbox modal with keyboard navigation
Upload system with drag-and-drop
Image optimization and validation
Staggered animations for visual appeal
3. Blog Integration
RSS feed parsing from Hashnode
Automatic content updates
Error handling with fallbacks
Responsive card layouts
4. Modern UI/UX
Dark/Light theme toggle
Responsive design across all devices
Smooth animations and transitions
Cyberpunk-inspired branding
Accessibility compliance
For the blog section: You might hit this depending on the time you read this article or visit my website 👇🏾👇🏾

The Architecture: File-Based Simplicity
One key decision was to avoid databases initially. Instead, I implemented a file-based system:
📁 Data Storage
├── contacts.json          # Contact form submissions
├── data/gallery.json      # Gallery metadata
├── client/public/gallery/ # Image files
└── client/public/images/  # Page-specific images
Why File-Based?
Simplicity: No database setup or maintenance
Portability: Easy to backup and migrate
Cost-effective: No database hosting costs
Fast development: Immediate read/write operations
Deployment Strategy: Railway + Custom Domain
Railway Configuration
# Environment Variables
NODE_ENV=development
PORT=8080
VITE_APP_TITLE=AfroBoy - Ronnie Atuhaire Portfolio
VITE_APP_LOGO=/logo.svg
OWNER_NAME=Ronnie Atuhaire
JWT_SECRET=<generated-secret>
Build Commands
{
  "dev": "tsx watch server/_core/index.ts",
  "dev:cloud": "tsx server/_core/index.ts",
  "build": "vite build && esbuild server/_core/index.ts --bundle --outdir=dist"
}
Railway Benefits:
$5/month free tier covers small portfolios
Automatic deployments on git push
Custom domain support with SSL
Environment variable management
Real-time logs and monitoring
Current Limitations & Future Improvements
Current Limitations
File-based storage limits scalability
No user authentication beyond admin
Limited analytics (mock data currently)
No content management for non-technical users
Single server deployment (no redundancy)
Planned Improvements (2026 Roadmap)
Database Migration: Move to PostgreSQL for better data management
Advanced Analytics: Integrate with Umami or Google Analytics
CMS Integration: Add Strapi or similar for content management
Performance Optimization: Implement caching and CDN
Mobile App: React Native version for mobile presence
AI Chatbot: Integrate conversational AI for visitor interaction
Multi-language Support: i18n implementation
Advanced SEO: Meta tags, sitemap, structured data
The Prompting Techniques That Made It Possible
1. Context-Rich Prompting
Instead of: "Create a gallery component" I used: "I need a gallery that showcases my tech projects and travel photos, with smooth animations, category filtering, and an admin panel for easy management. The design should feel modern and professional."
2. Iterative Refinement
Start with basic functionality
Add one feature at a time
Test and refine each addition
Build complexity gradually
3. Problem-Solution Framing
Instead of asking for code, I described problems:
"Users need to easily browse my work"
"I want to manage content without touching code"
"The site should feel fast and responsive"
4. Technical Constraint Communication
I learned to clearly communicate:
Performance requirements
Browser compatibility needs
Mobile responsiveness expectations
Accessibility standards
Lessons Learned: The New Rules of Development
1. Prompt Engineering is the New Programming
The quality of your output directly correlates with the quality of your prompts. Invest time in learning how to communicate effectively with AI.
2. Architecture Thinking Becomes More Important
When AI handles implementation, your role shifts to:
System design decisions
User experience planning
Performance optimization
Security considerations
3. Rapid Prototyping is the Norm
With AI assistance, you can test ideas in hours rather than days. This enables:
More experimentation
Better user feedback loops
Faster iteration cycles
4. Focus on Value, Not Code
Instead of optimizing code, optimize for:
User experience
Business value
Maintainability
Scalability
The Economics of Vibecoding
Traditional Development Cost
Developer time: 2-3 weeks @ $50/hour = $4,000-6,000
Design work: 1 week @ $40/hour = $1,600
Testing & debugging: 1 week @ $50/hour = $2,000
Total: $7,600-9,600
Vibecoding Cost (My Approach)
AI tools: $20 (Manus Credits + Free AWS Builder Kiro)
Domain: $12/year from Namecheap
Hosting: Free Tier on Railway
My time: 6 days @ $0 (learning investment)
Total: $32
I am also using the free versions of Nano Banana, GPT, and Canva!
ROI: 99.99% cost reduction with comparable quality.
Why You Can Do This Too
Prerequisites (Not What You Think)
You don't need:
❌ Years of coding experience
❌ Computer Science degree
❌ Deep framework knowledge
❌ Design skills
You DO need:
✅ Clear vision of what you want
✅ Basic understanding of web concepts
✅ Patience for iterative improvement
✅ Willingness to learn prompting techniques
Getting Started Checklist
Define your goals: What do you want your portfolio to achieve?
Choose your AI tools: Start with Manus for foundation, Kiro for enhancement
Plan your content: Gather images, text, and project information
Start simple: Begin with basic pages, add complexity gradually
Deploy early: Get online quickly, iterate in production
Gather feedback: Share with friends, iterate based on responses
The Future of Web Development
We're witnessing a fundamental shift in how software is built. The developers who thrive in 2026 and beyond will be those who:
Master AI collaboration rather than fighting it
Focus on problem-solving rather than syntax memorization
Understand user needs deeply
Embrace rapid iteration cycles
Think in systems rather than individual components
Technical Deep Dive: Key Implementation Details
Authentication System
// Simple passphrase-based admin auth
const ADMIN_PASSPHRASE = '#####';
const AUTH_KEY = 'admin_authenticated';

// No complex OAuth, just localStorage-based sessions
const isAuthenticated = localStorage.getItem(AUTH_KEY) === 'true';
Gallery Management
// File-based gallery with JSON metadata
interface GalleryImage {
  id: string;
  title: string;
  category: 'tech' | 'travel' | 'events';
  imageUrl: string;
  createdAt: string;
  order?: number;
}

// Drag-and-drop reordering with visual feedback
const handleReorder = async (dragIndex: number, hoverIndex: number) => {
  const newImages = [...images];
  const draggedImage = newImages[dragIndex];
  newImages.splice(dragIndex, 1);
  newImages.splice(hoverIndex, 0, draggedImage);
  await saveImageOrder(newImages);
};
RSS Blog Integration
// Automatic blog post fetching from Hashnode
const fetchBlogPosts = async () => {
  try {
    const response = await fetch('/api/blog');
    const posts = await response.json();
    return posts.filter(post => post.title && post.url);
  } catch (error) {
    console.error('Blog fetch failed:', error);
    return []; // Graceful degradation
  }
};
Performance Optimizations
Bundle Splitting
// Vite configuration for optimal loading
export default defineConfig({
  build: {
    rollupOptions: {
      output: {
        manualChunks: {
          vendor: ['react', 'react-dom'],
          ui: ['@radix-ui/react-dialog', '@radix-ui/react-dropdown-menu'],
          animations: ['framer-motion']
        }
      }
    }
  }
});
Image Optimization
// Automatic image compression and format conversion
const optimizeImage = (file: File): Promise<string> => {
  return new Promise((resolve) => {
    const canvas = document.createElement('canvas');
    const ctx = canvas.getContext('2d');
    const img = new Image();

    img.onload = () => {
      // Resize and compress logic
      canvas.width = Math.min(img.width, 1200);
      canvas.height = (canvas.width / img.width) * img.height;
      ctx.drawImage(img, 0, 0, canvas.width, canvas.height);
      resolve(canvas.toDataURL('image/jpeg', 0.8));
    };

    img.src = URL.createObjectURL(file);
  });
};
Security Considerations
Input Validation
// Zod schemas for type-safe API validation
const contactSchema = z.object({
  name: z.string().min(1).max(100),
  email: z.string().email(),
  message: z.string().min(10).max(1000)
});

// File upload validation
const validateImageUpload = (file: File): boolean => {
  const allowedTypes = ['image/jpeg', 'image/png', 'image/webp'];
  const maxSize = 10 * 1024 * 1024; // 10MB

  return allowedTypes.includes(file.type) && file.size <= maxSize;
};
Environment Security
# Secure environment variable management
JWT_SECRET=<cryptographically-secure-random-string>
NODE_ENV=production
ALLOWED_ORIGINS=https://atuhaire.com,https://www.atuhaire.com
Monitoring and Analytics
Custom Analytics Implementation
// Simple page view tracking
const trackPageView = (page: string) => {
  if (typeof window !== 'undefined') {
    // Send to analytics endpoint
    fetch('/api/analytics/pageview', {
      method: 'POST',
      headers: { 'Content-Type': 'application/json' },
      body: JSON.stringify({
        page,
        timestamp: new Date().toISOString(),
        userAgent: navigator.userAgent,
        referrer: document.referrer
      })
    }).catch(console.error);
  }
};
Conclusion: The Dawn of Conversational Programming
Building this portfolio taught me that we're at an inflection point in software development. The traditional barriers, syntax complexity, framework learning curves, deployment intricacies, are dissolving rapidly.
The new competitive advantage isn't coding speed; it's vision clarity and prompt engineering mastery.
In 6 days, I went from concept to production-ready portfolio. Not because I'm a coding wizard, but because I learned to collaborate effectively with AI. I focused on what I wanted to achieve rather than how to implement it.
This is vibecoding: riding the wave of AI assistance while maintaining creative control and strategic thinking.
Your Turn: Start Vibecoding Today
Don't wait for the "perfect" moment or until you've learned more traditional coding. The tools are here, they're accessible, and they're incredibly powerful.
Start with a simple project. Define what you want clearly. Prompt iteratively. Deploy early. Gather feedback. Improve continuously.
The future of development is conversational, and it's available to everyone willing to learn this new language of human-AI collaboration.
Ready to start your vibecoding journey?
Visit atuhaire.com to see the final result, and remember: if I can build this in 6 days through prompting, so can you.
Follow my journey on LinkedIn and Twitter for more insights on AI-driven development and the future of programming.
Tags: #Vibecoding #AI #React #TypeScript #Railway
This post was written in 2026, documenting the real experience of building a production portfolio using AI-first development methodologies. All code examples and techniques are from the actual implementation.